
How to create your first Crawlbench monitor
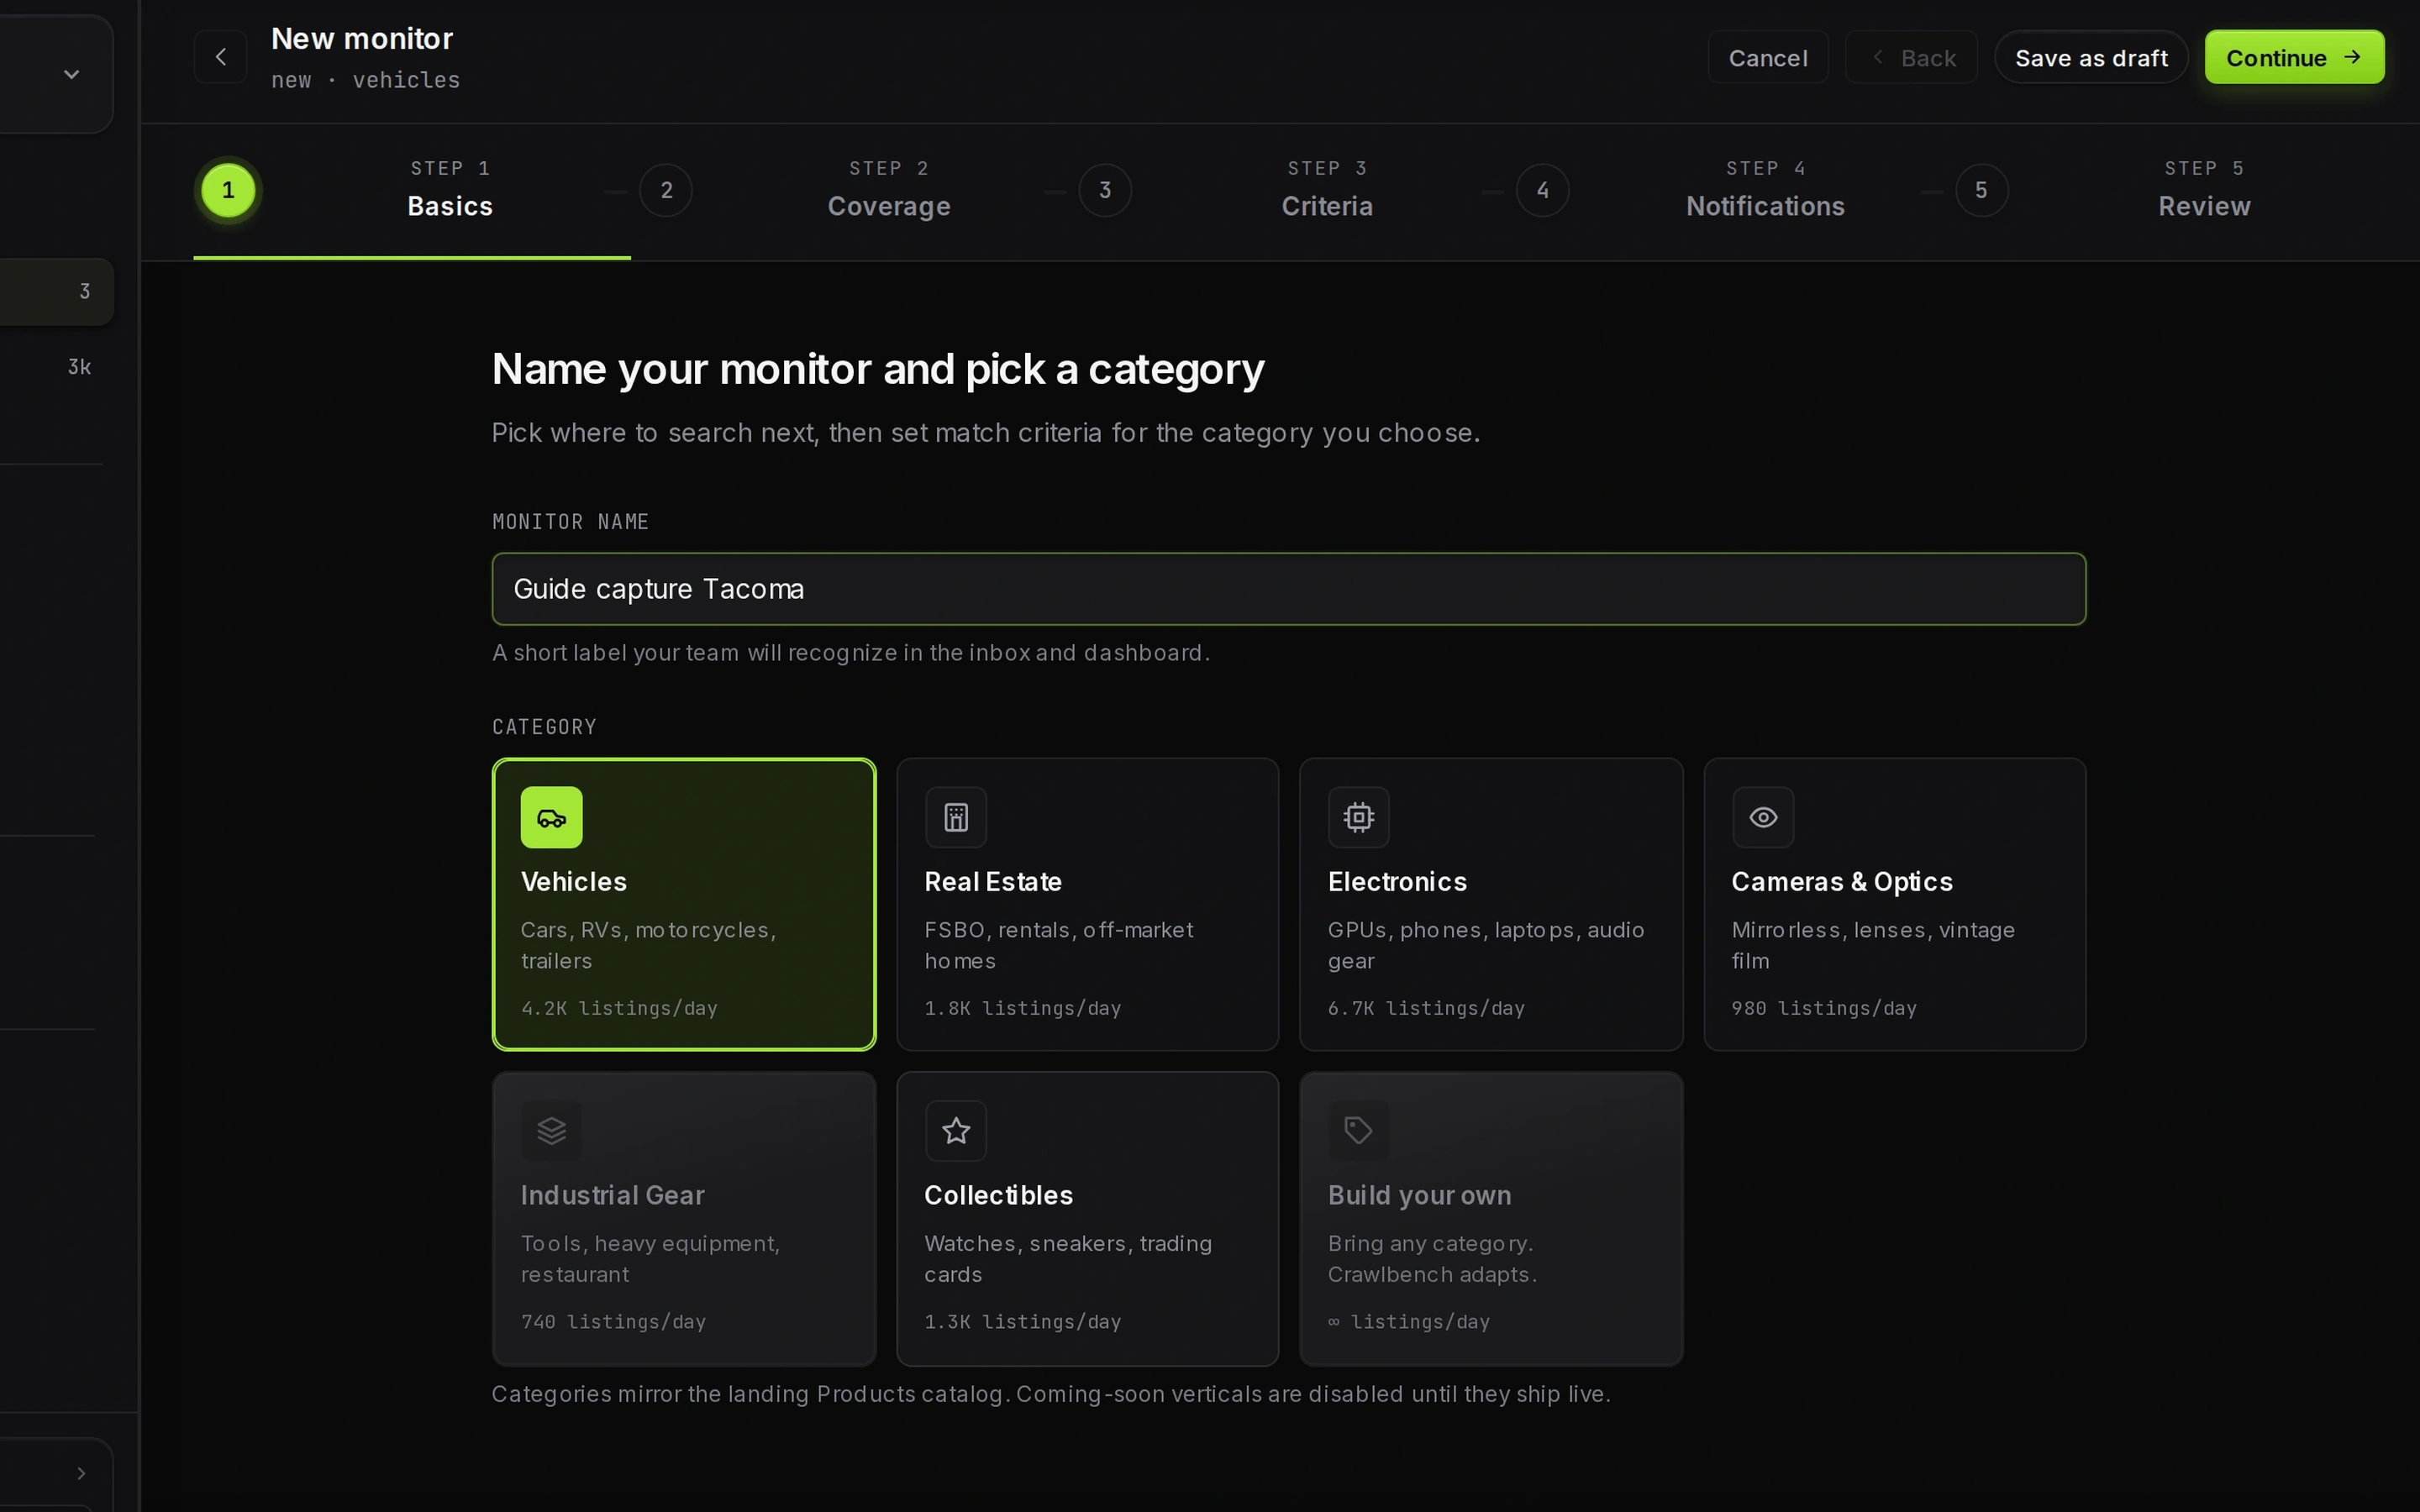
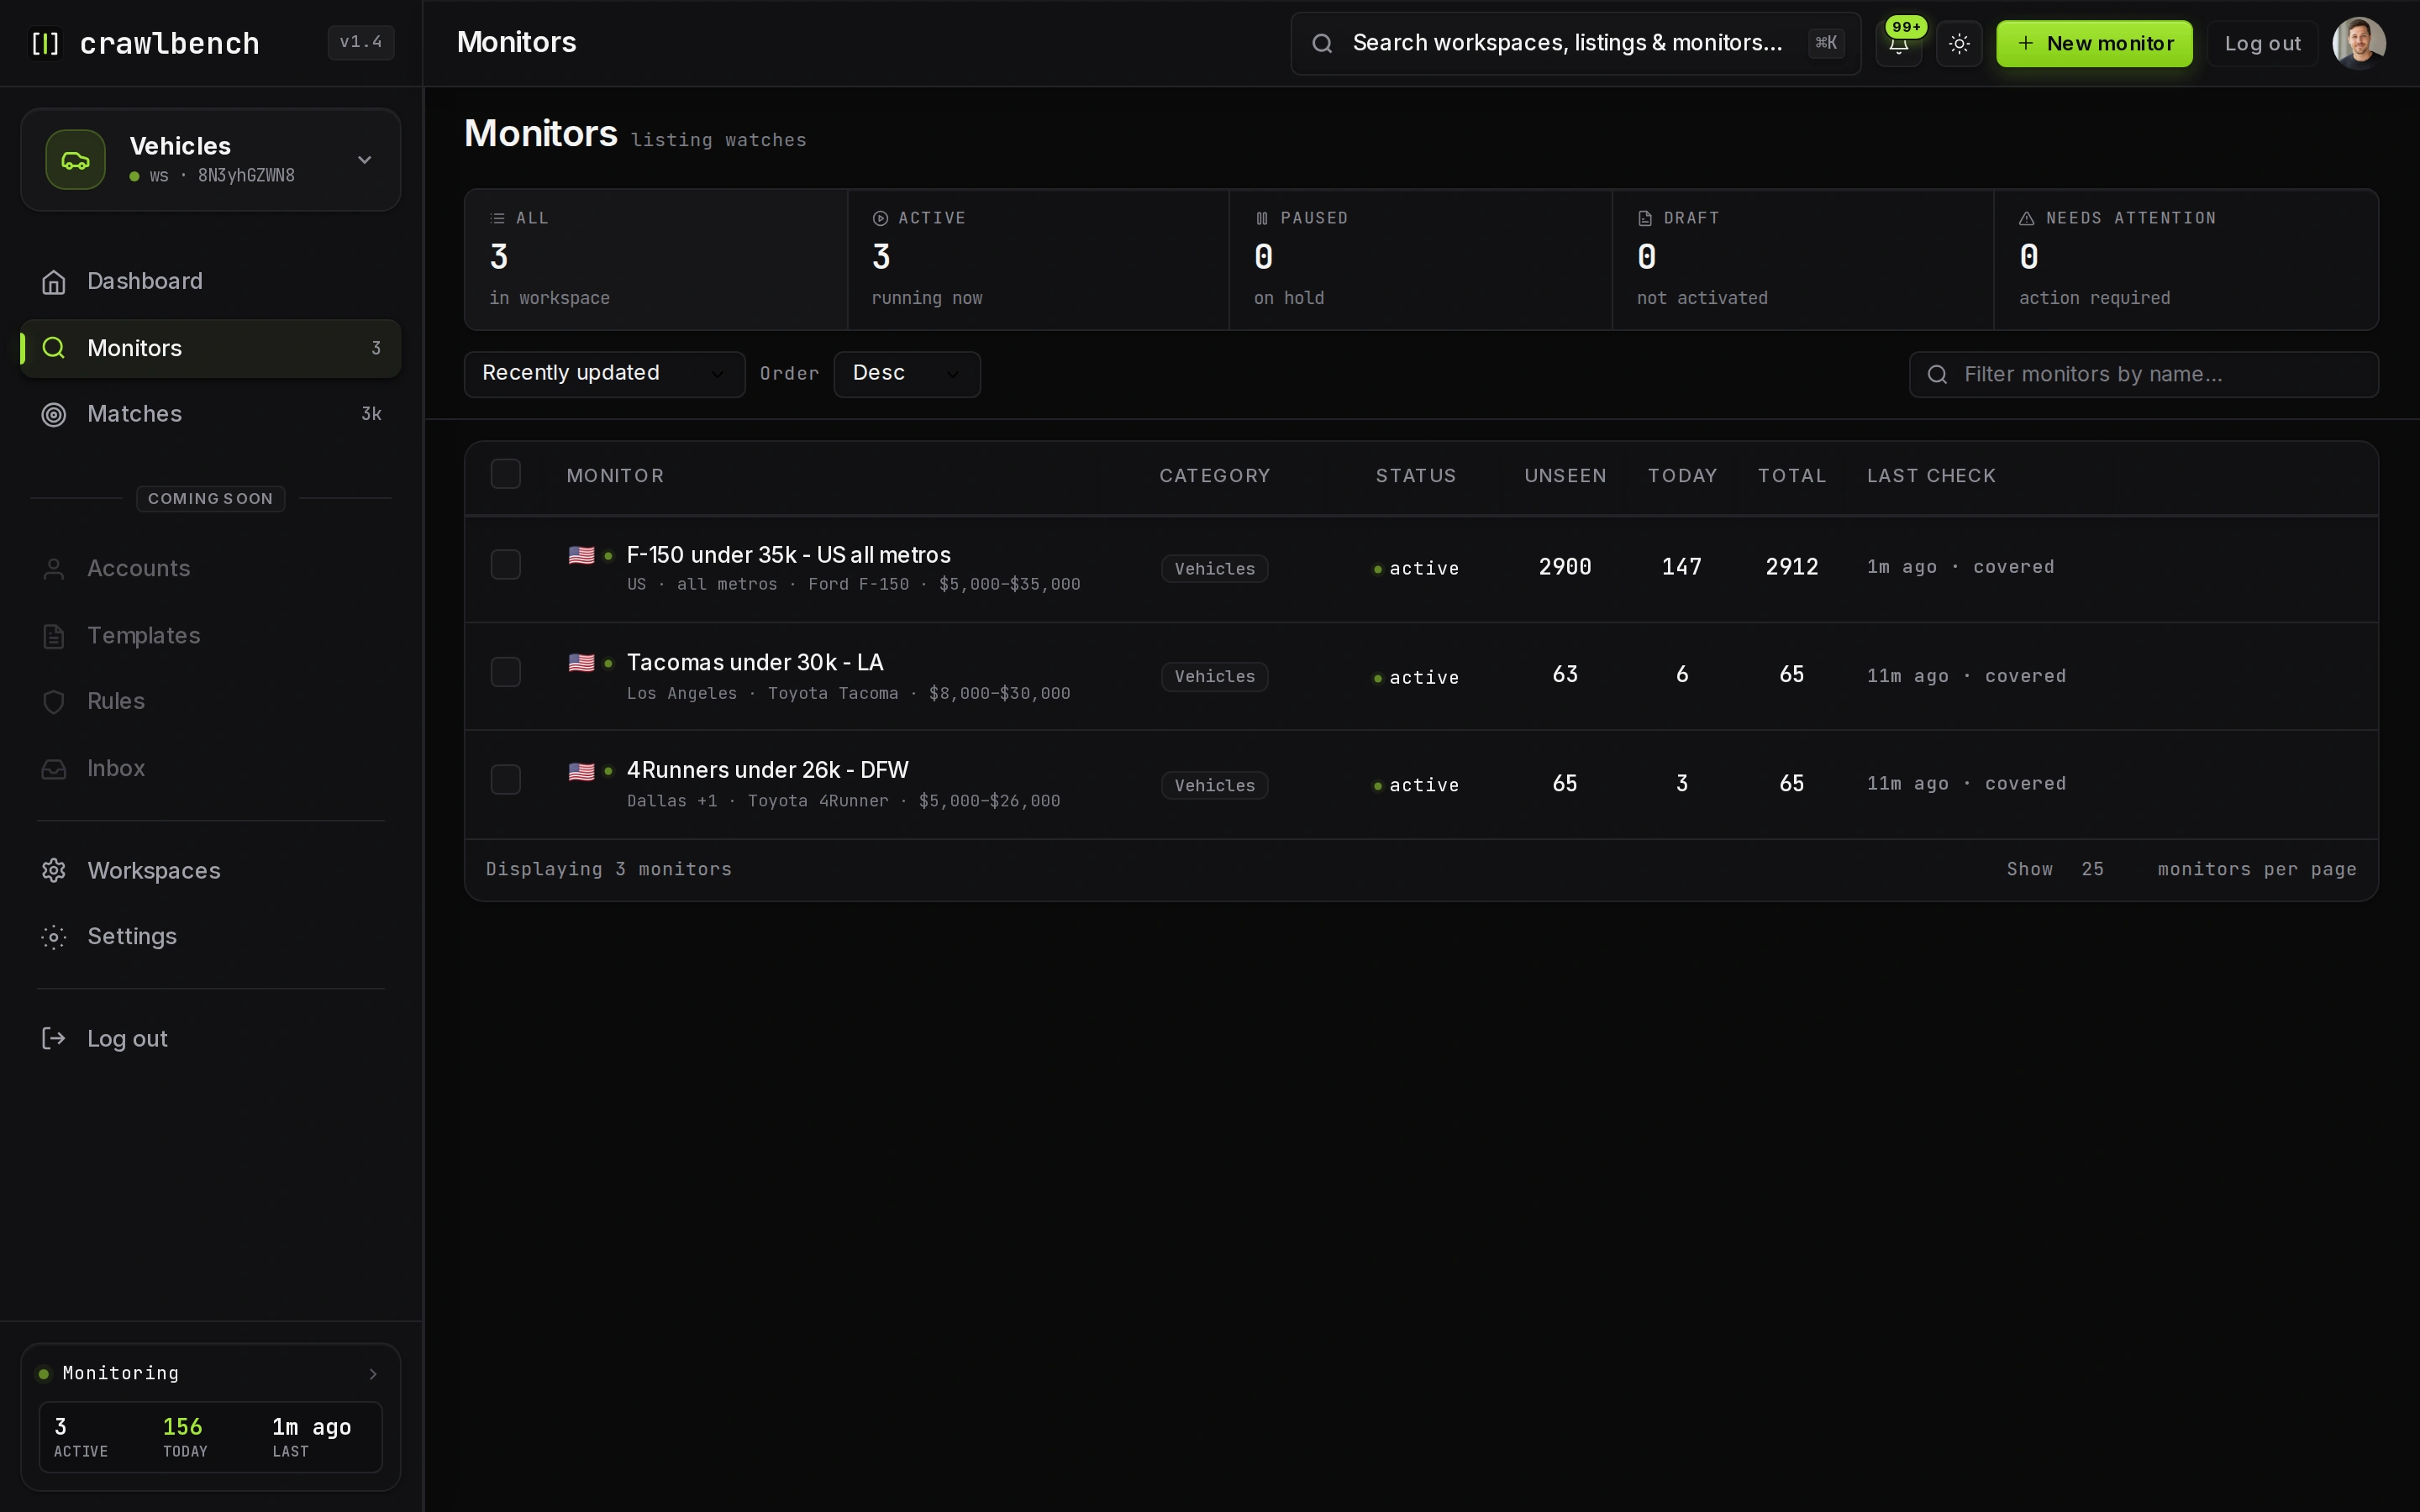
Create your first Crawlbench monitor from Monitors → New monitor. You pick a category, a city list, a buy box, and activate. Crawlbench then runs scheduled Marketplace checks and only alerts on listings that pass your filters.
Do not start with five cities and a vague keyword. One tight monitor teaches you the desk faster than a wide net.
What you need before you click New monitor
You need a Crawlbench account, a workspace, and a one-sentence buy box you would defend to a partner.
Write the buy box first on paper:
- Category (vehicles, real estate, electronics, or another live vertical)
- Make/model or SKU family
- Max price and any year or condition floor
- Cities you will actually drive
- Hard nos (salvage, parts only, room share, iCloud locked)
If that sentence needs three "or" clauses, split into two monitors later.
Step 1: Open the monitor wizard
Open Monitors, then New monitor. The wizard walks category → location → filters → review.
Step 2: Basics — name and Marketplace category
Pick the category that matches how Facebook lists the inventory. Vehicles use make/model identity when available. Real estate and electronics use the filters that category exposes.
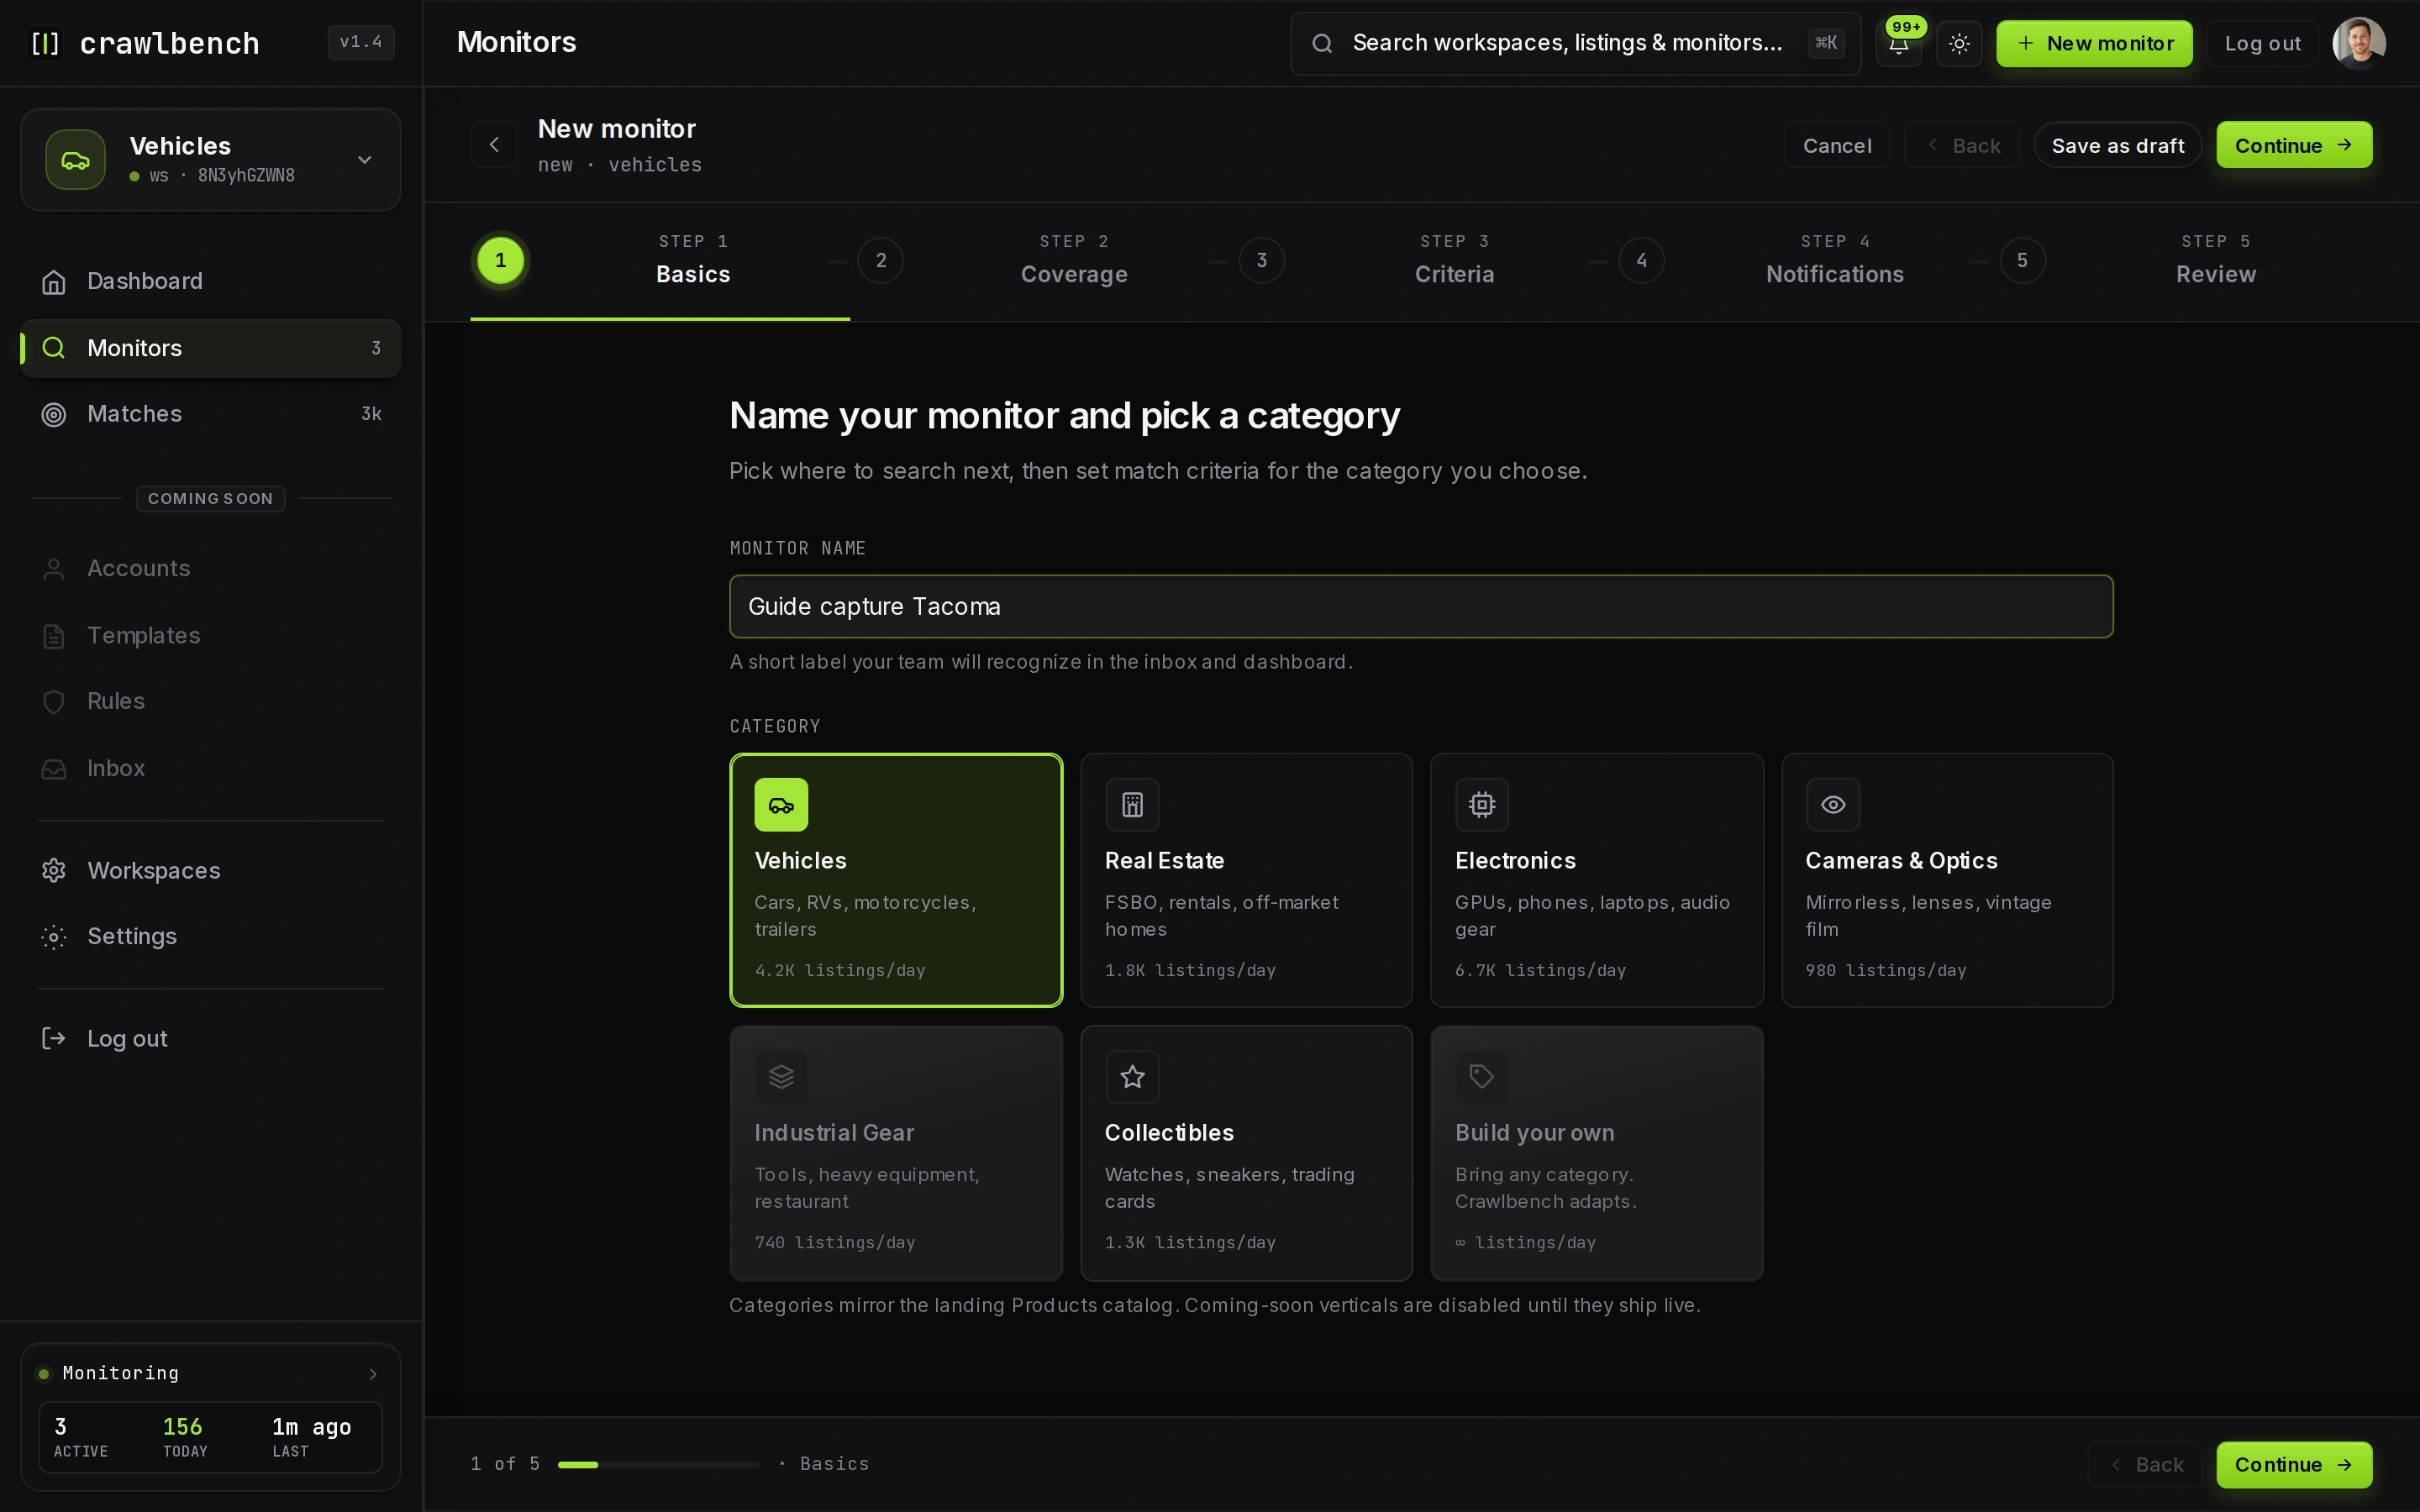
Wrong category means weak filters and noisy matches. If you buy cars, start on Vehicles even when sellers also post in general Marketplace search.
Step 3: Coverage — cities and radius
Add the cities you will cover this week. Radius should match pickup reality, not ambition.
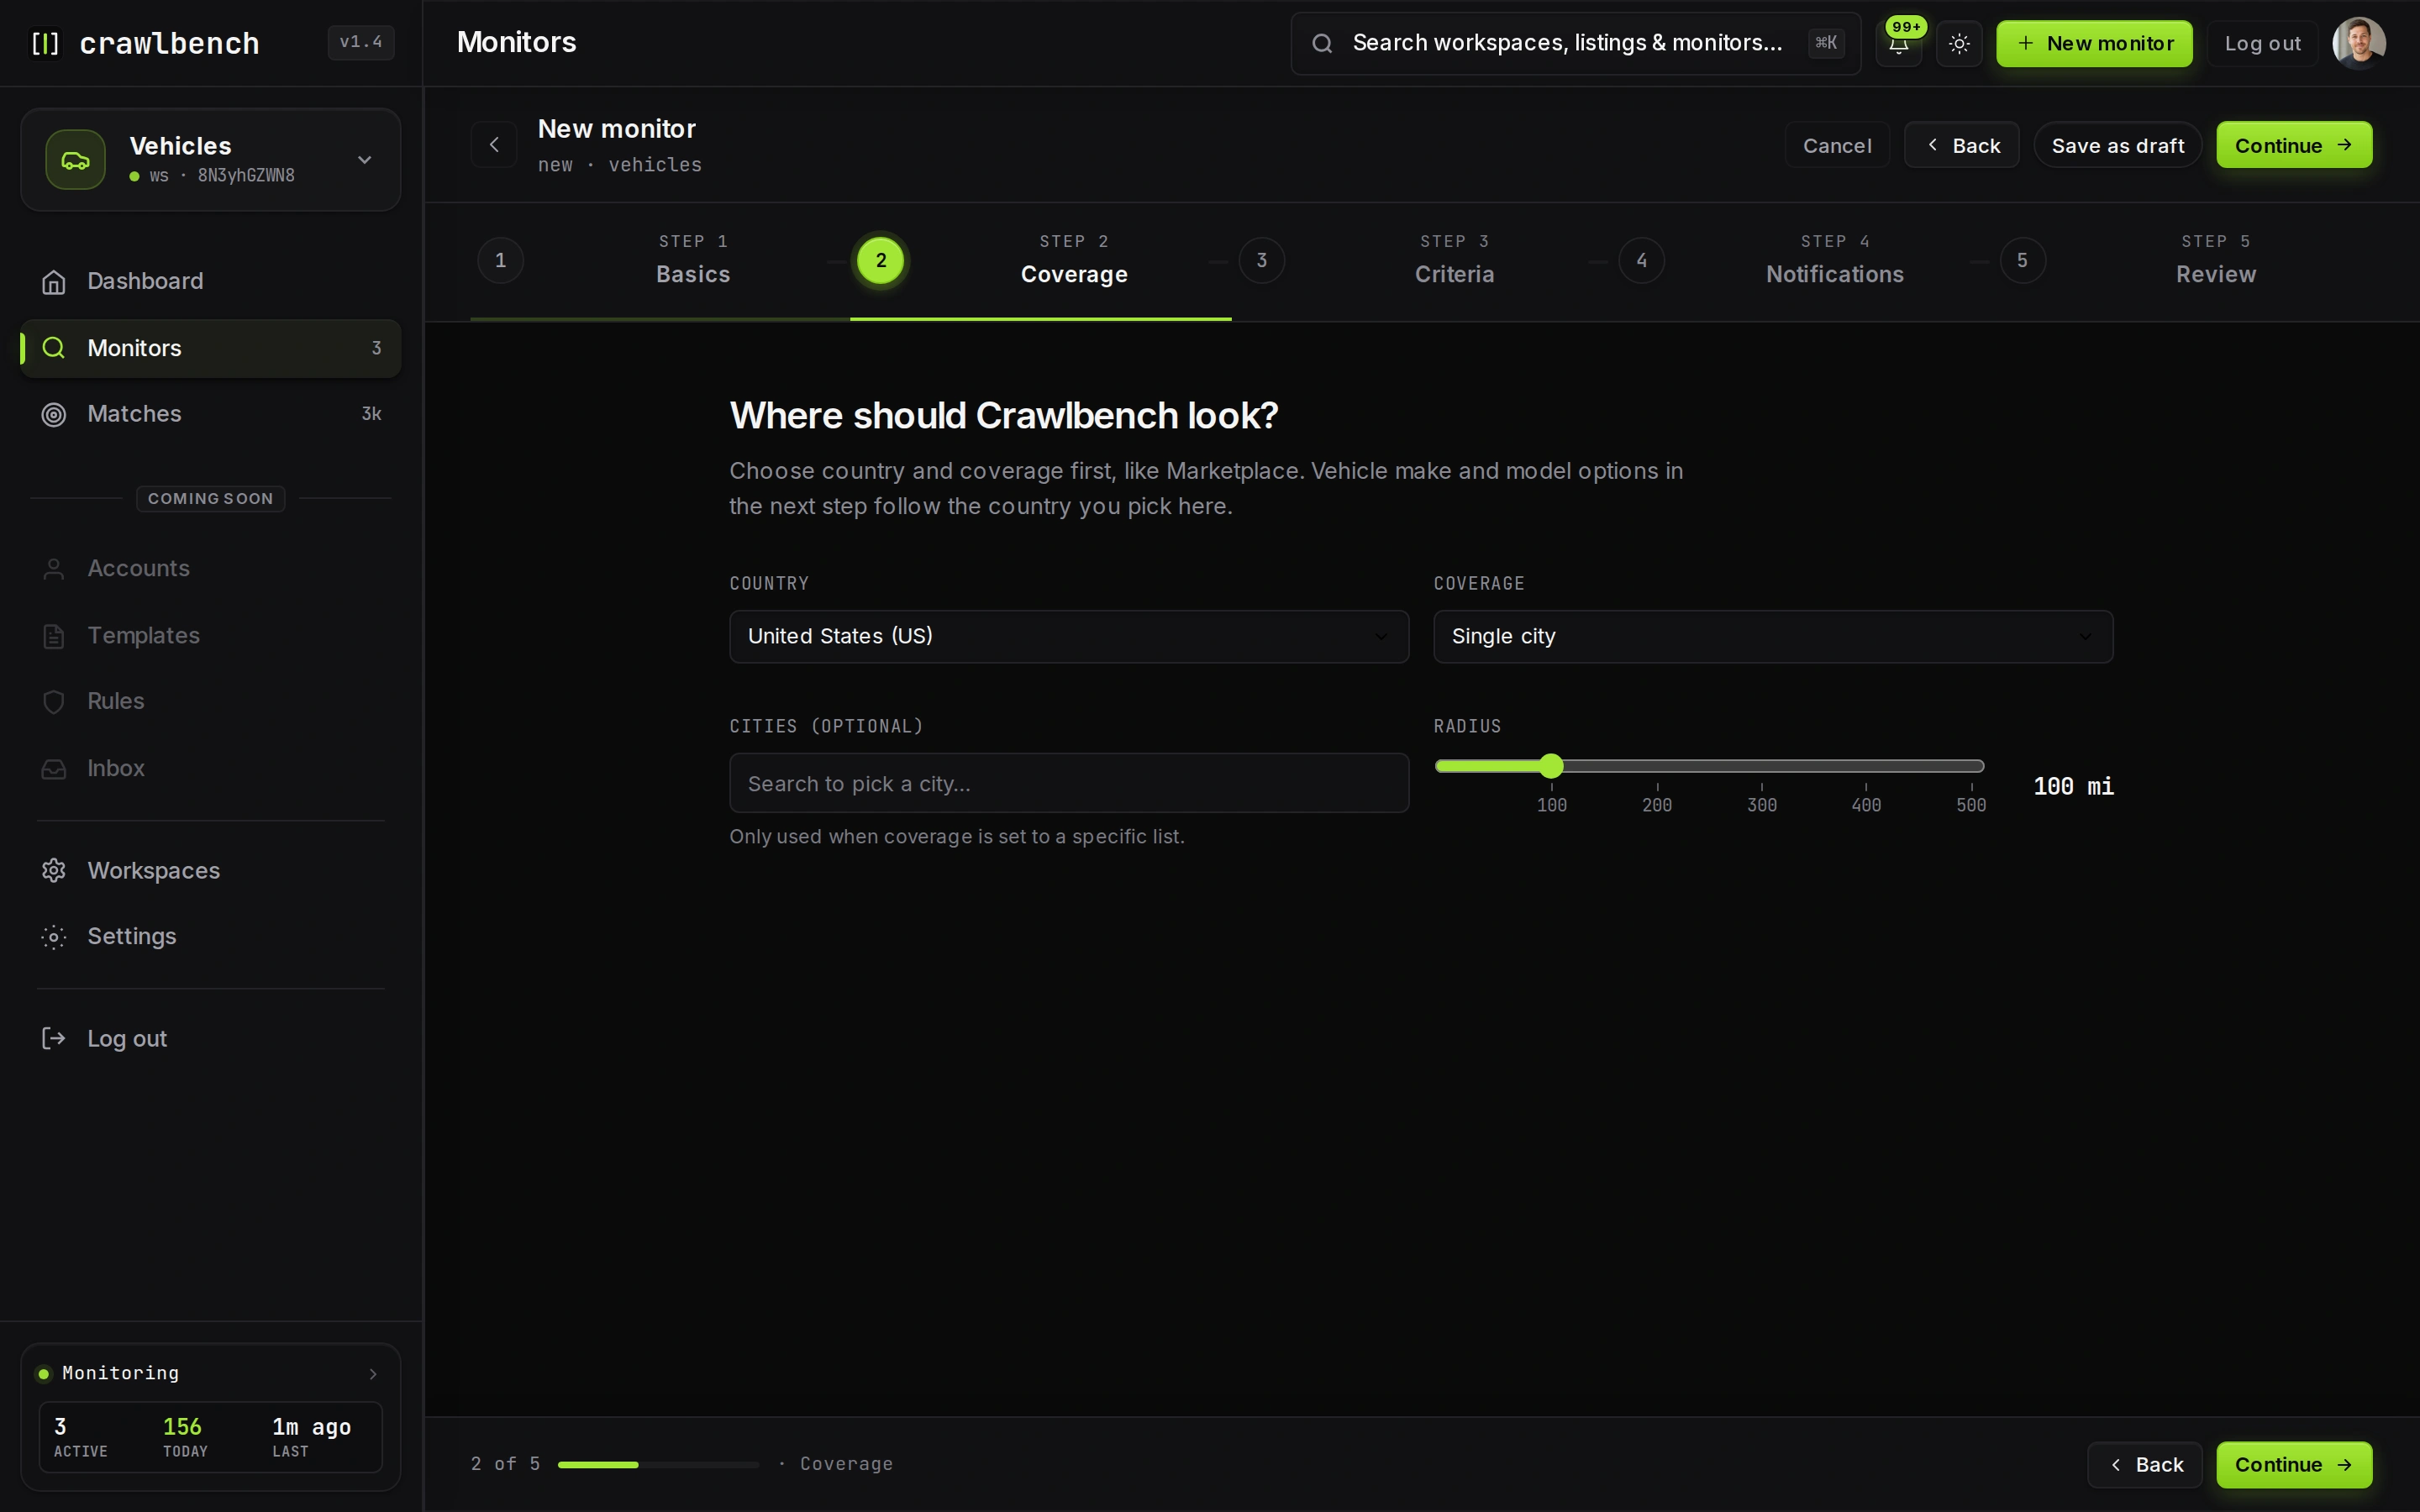
All cities consumes your full city-slot budget and rotates anchors across cycles. For a first monitor, pick a short city list you can triage.
Step 4: Criteria — enter the buy box filters
Set price, year or condition, identity fields, and excluded terms. Sort your mental model as Newest arrivals, not browsing stale stock.
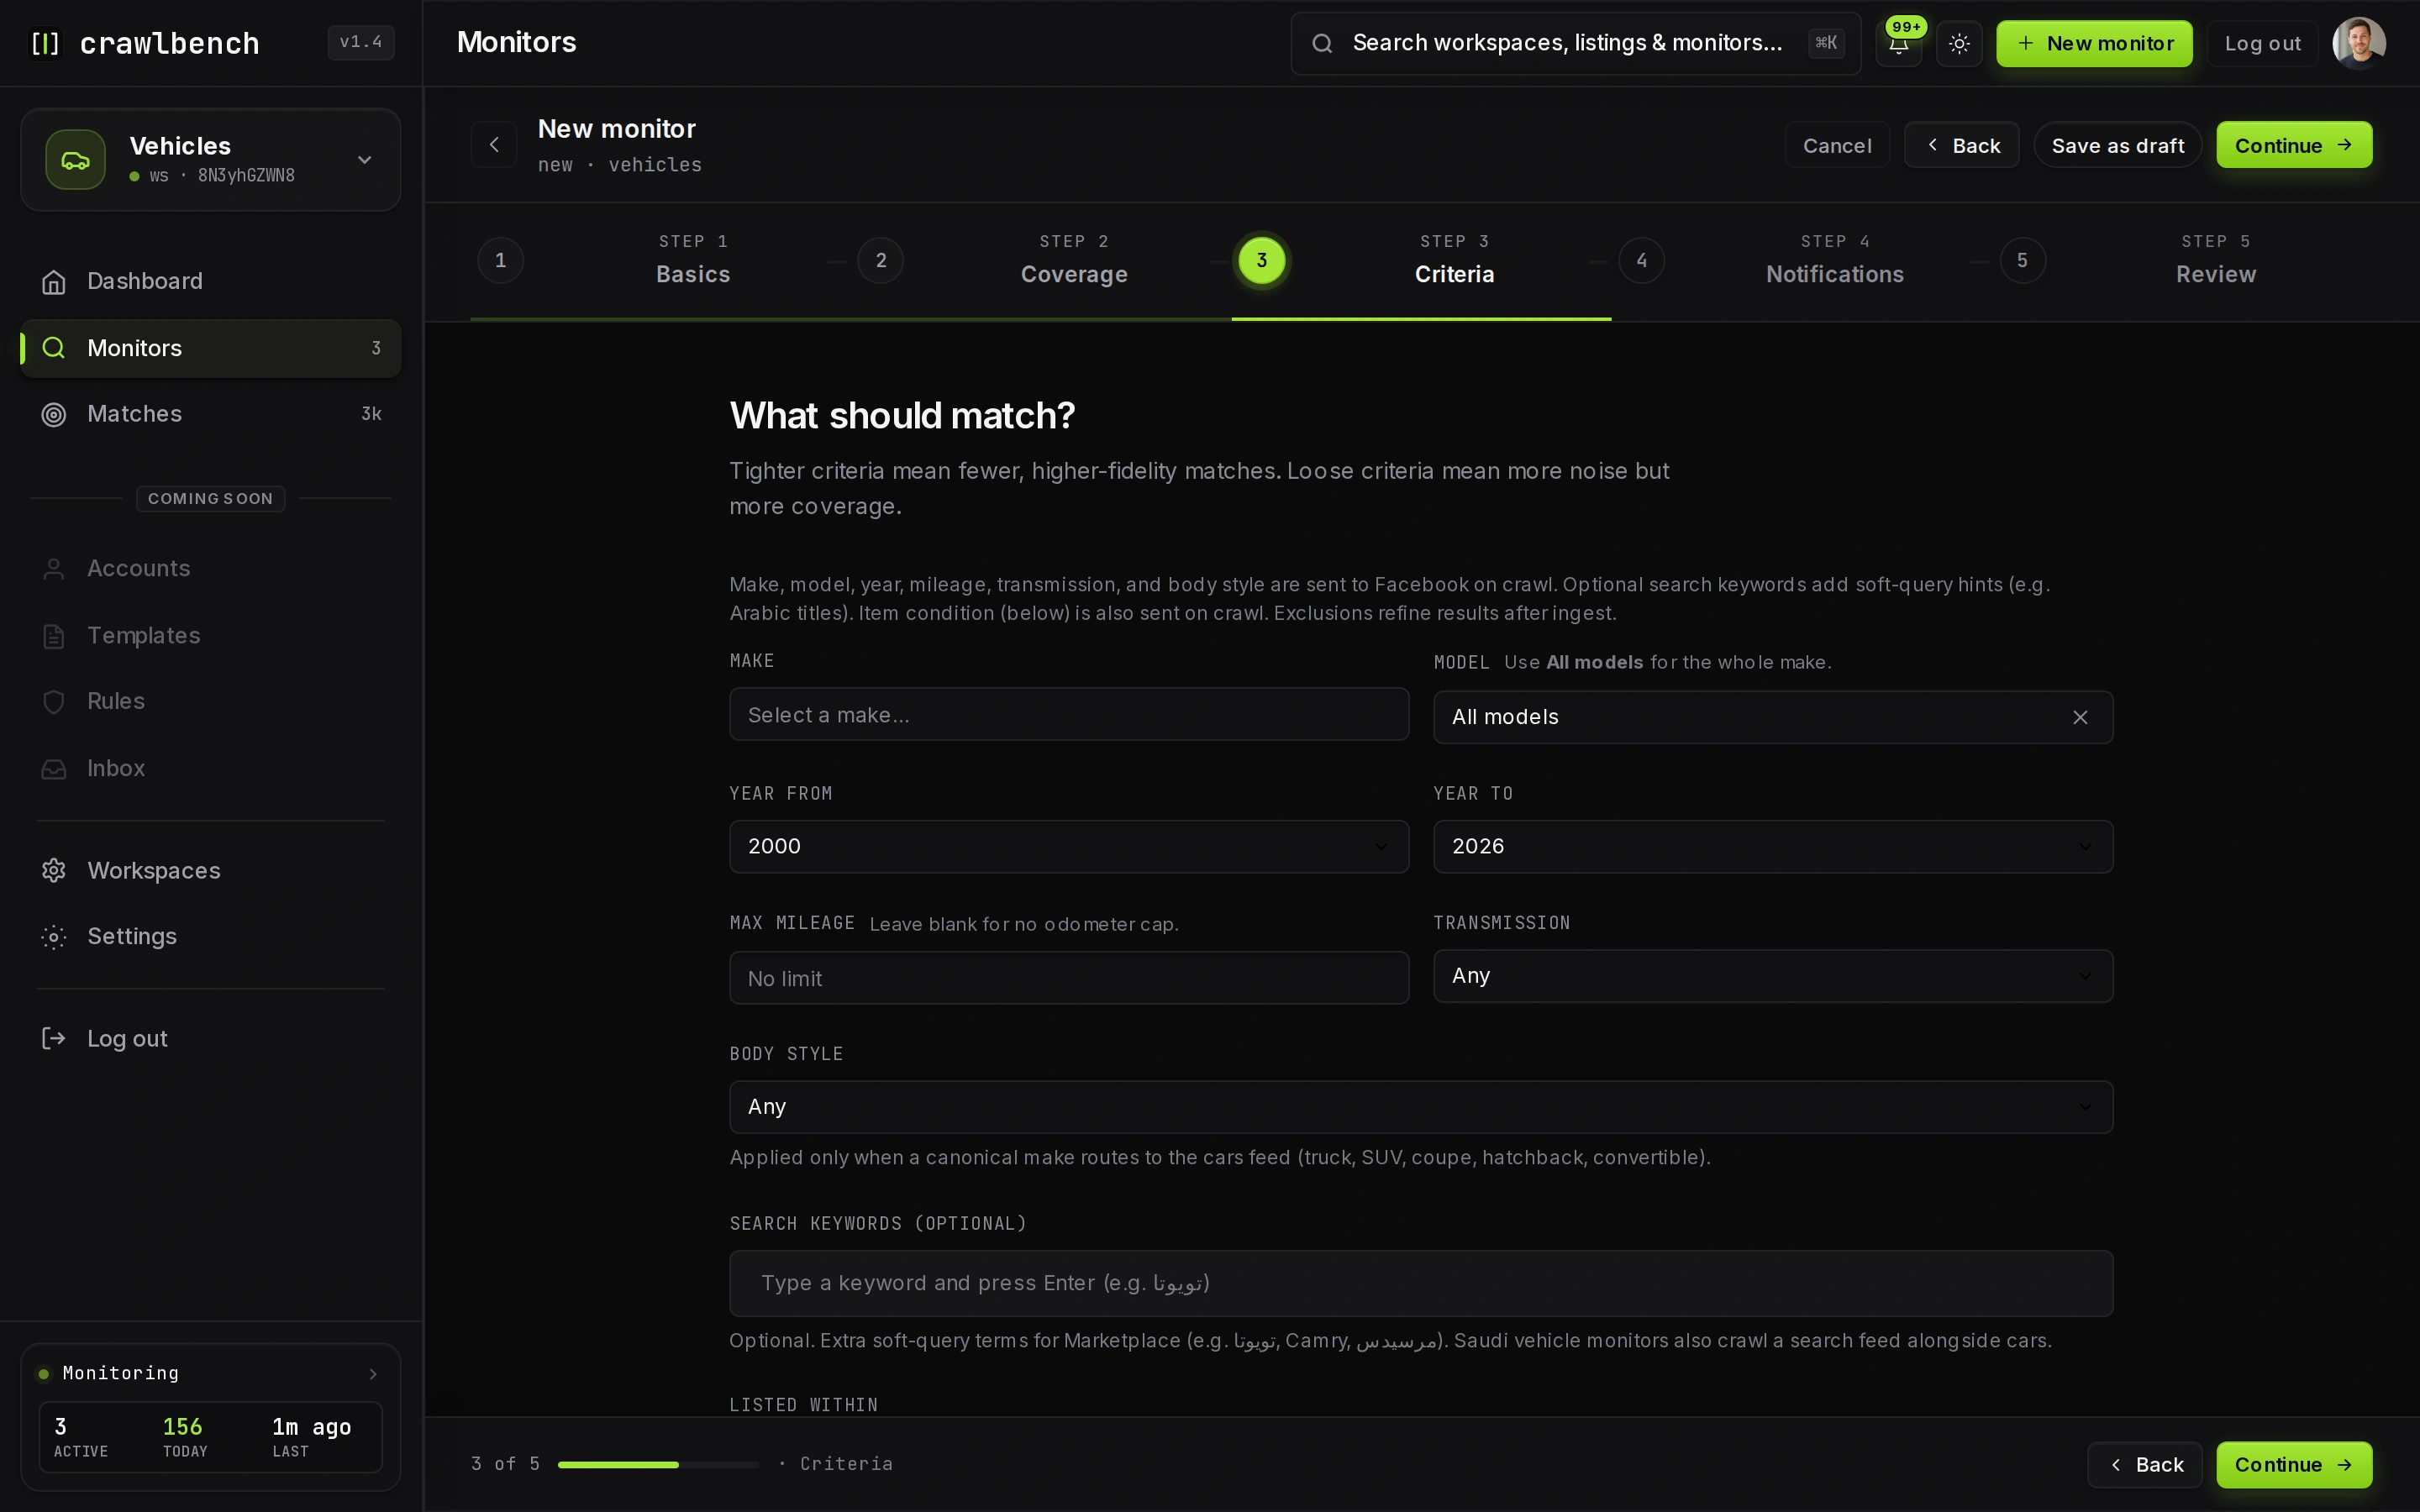
Price alone is weak. Pair a price cap with a year floor and a few exclusions so typo miracles and junk never enter the queue.
Step 5: Name, review, and activate
Give the monitor a name you will recognize in alerts. Review the summary, then activate.
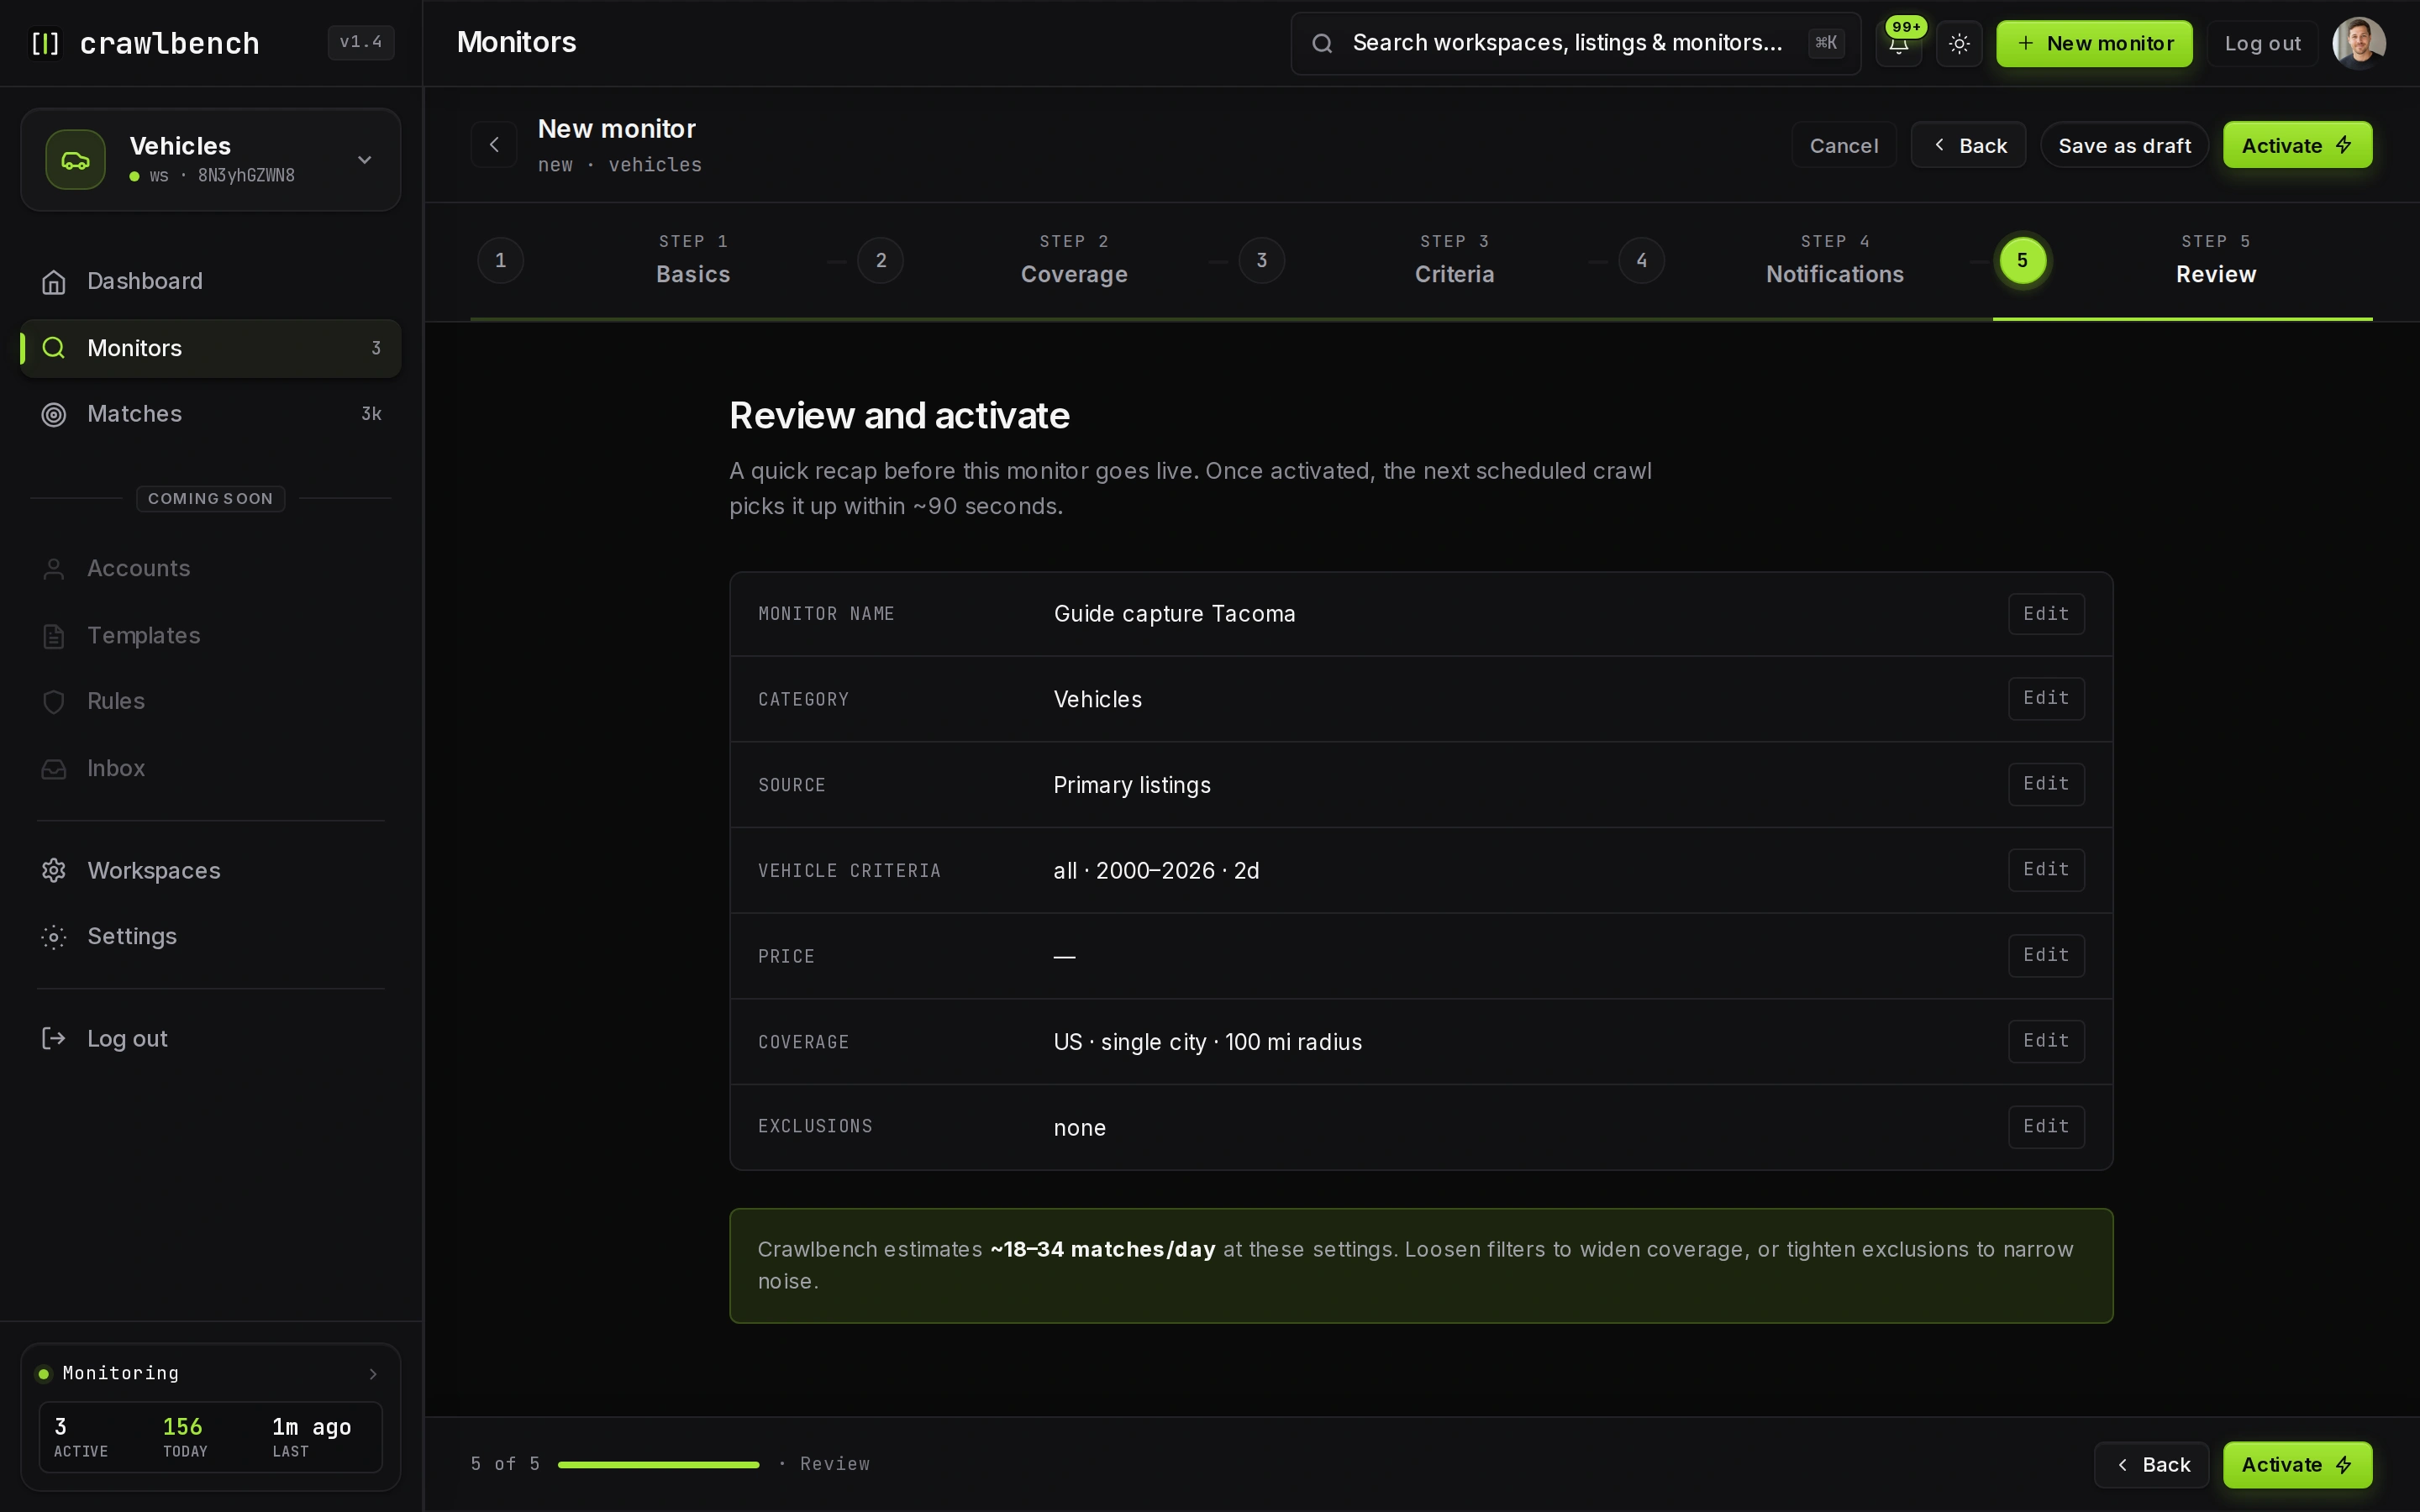
Activation starts scheduled checks subject to your plan. New accounts may start a Day Pass on first activation. Coverage rotates across cities, so treat cadence as steady scheduled checks, not a live ticker for every ZIP every minute.
What happens after activation
Crawlbench fans out crawl work on a schedule, applies your match gate on ingest, and surfaces rows that pass. You message sellers on Facebook. Crawlbench does not auto-DM.
Next: set filters that cut noise, then read the dashboard so you know when coverage is healthy.
When to stop at one monitor
Stay on one monitor until you can triage it in under two minutes per alert batch. Add a second city or SKU only after the first queue stays clean for a week.